
The Complete Guide to eSIM Cards: How They Work and Why You Need One
An eSIM card is a tiny, embedded chip inside your phone that replaces the physical plastic SIM, letting you activate a mobile plan by simply scanning a QR code instead of waiting for a mail-delivered card. Because it’s built into your device, you can instantly switch between carriers or add a travel data plan right from your settings menu, which puts the control in your hands. Its digital design means you never have to worry about losing, damaging, or fumbling with a tiny SIM, making every setup feel effortless and keeping you connected wherever life takes you.
What Exactly Is an Embedded SIM and How Is It Different From a Physical One?
An embedded SIM (eSIM) is a tiny chip soldered directly onto a device’s motherboard, replacing the removable plastic card used in physical SIMs. Unlike a physical SIM, which you insert and swap between phones, an eSIM is fixed inside the device and cannot be taken out. Instead of swapping cards, you activate or change carriers by downloading a digital profile—essentially a software version of a SIM—onto the chip. A physical SIM stores your identity on a hardware card that you must physically move, while an eSIM stores the same data in rewritable memory on the board. This means switching carriers on an eSIM takes minutes through a settings menu, with no need to wait for a card or use a tray.
The core difference: a physical SIM is hardware you handle, whereas an eSIM is software you manage.
For practical use, an eSIM frees up the SIM slot, allows multiple profiles on one chip, and makes device setup easier when traveling—since you can scan a QR code to add a plan instead of buying a plastic card.
The Core Technology: Where the Chip Lives and Why It Matters
The real magic of an eSIM isn’t some floating cloud—it’s a tiny, soldered chip embedded directly onto your phone’s main circuit board. Instead of a plastic card you can pop out, this eSIM chip architecture is a permanent hardware component, often a small MFF2 package. Because it’s physically attached, it’s immune to the wear and tear of swapping cards, and it frees up internal space for other parts like a bigger battery. That’s why it matters for you: your profile lives on this fixed chip, which you manage entirely through software settings, not by touching hardware.
Q: Can I physically remove the chip if I switch phones?
A: Nope—that’s the point. You can’t pull it out; instead, you remotely transfer your profile to another device’s chip via QR code or app. The eUICC firmware on that chip handles the swap.
Physical SIM vs. Digital Profile: Key Differences in Daily Use

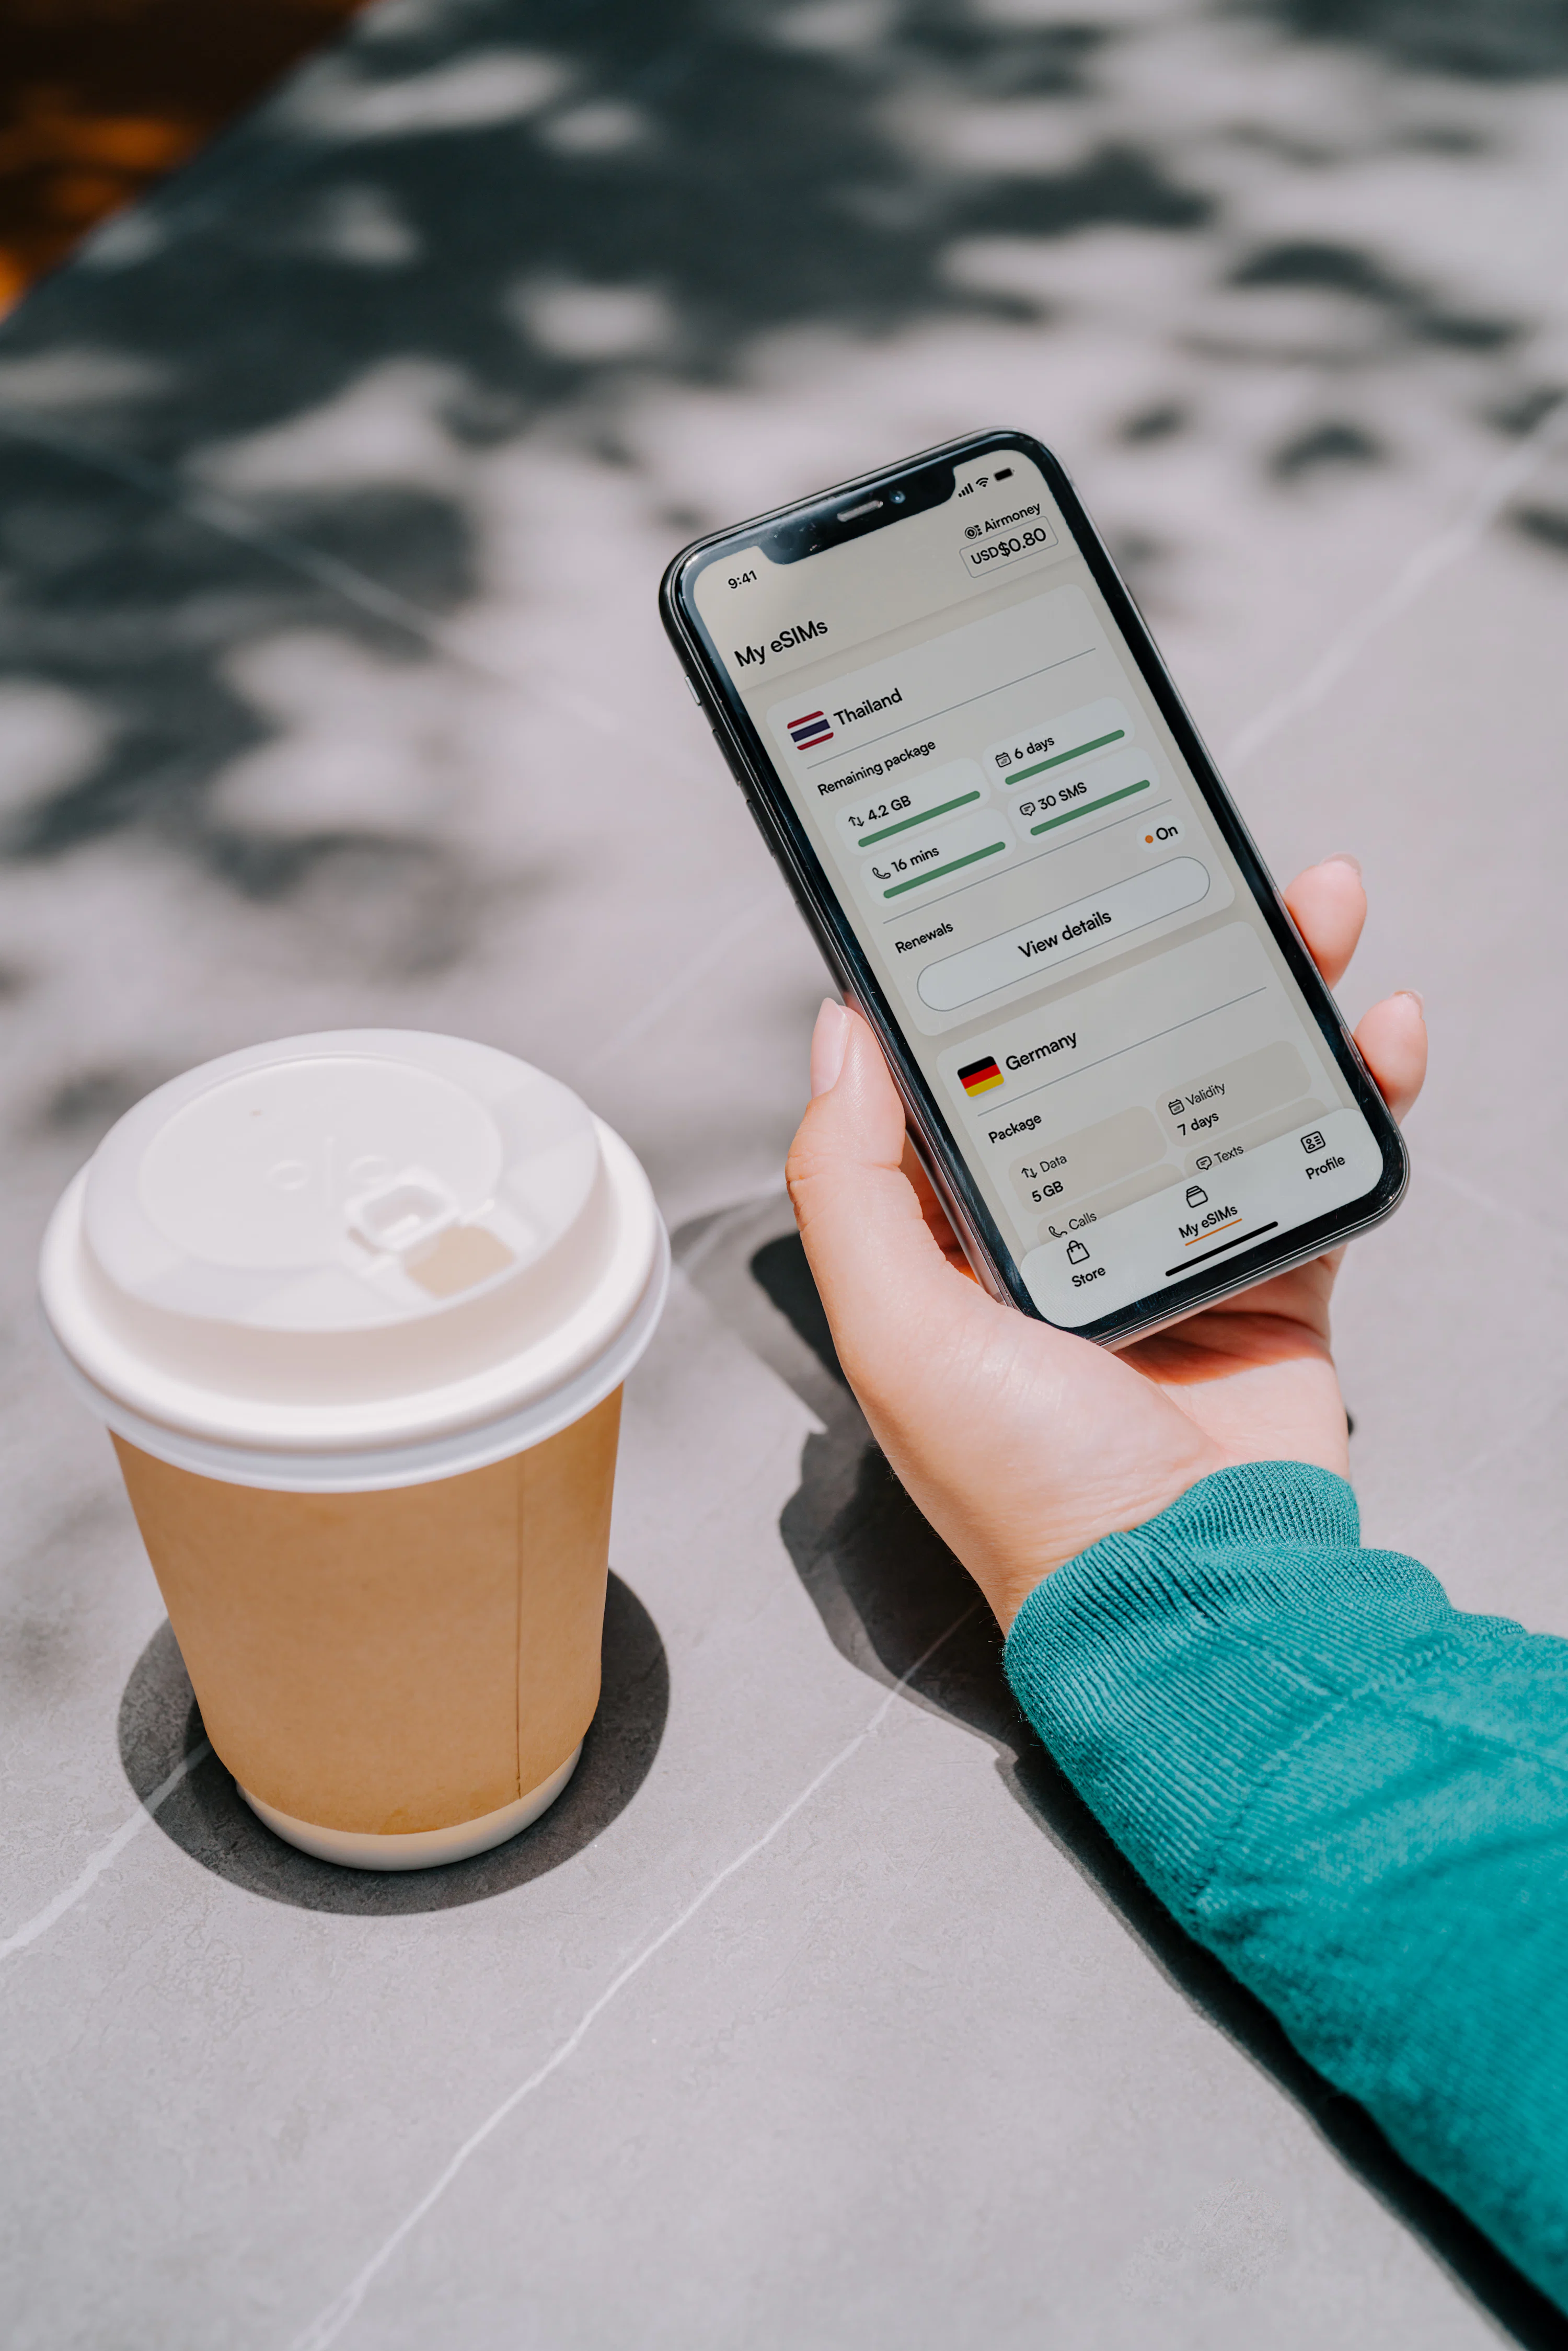
A physical SIM requires manual handling: you insert, swap, or eject a plastic card to change carriers or devices. A digital profile, by contrast, is downloaded and activated over the air, so you switch networks by entering a settings menu and scanning a QR code. In daily use, this means carrier switching without hardware access—you can test a local data plan on vacation before removing your primary line. For multi-device users, a single digital profile can be transferred between phones via app or account sync, while a physical SIM must be physically moved. Also, provisioning time differs: installing a digital profile takes minutes; buying and inserting a physical SIM often requires a store visit. The sequence for switching on a digital profile typically involves:
- opening device settings
- selecting “Add Cellular Plan”
- scanning the carrier’s QR code, and
- confirming the profile activation.
Physical SIMs skip these steps but add the friction of locating a SIM tray tool and keeping the old card safe.
How Do You Activate and Install a New Mobile Profile on Your Device?
You’ll start by scanning the QR code your carrier emails you, which triggers your phone to recognize the new eSIM profile instantly. From there, open *Settings* and tap “Add Cellular Plan,” letting the device download the profile over Wi-Fi—this takes under a minute. Next, assign the profile a label like “Travel” or “Work,” then choose your default line for calls and data, remembering that only one eSIM can be active for cellular data at a time. Finally, restart your phone once to ensure the network registers cleanly, and you’ll see signal bars appear. Keep the QR code saved in your photos in case you need to re-add it, and always confirm activation with a quick test call. The trickiest part is often forgetting which line is primary, so double-check your settings before roaming.
Scanning a QR Code vs. Manual Entry: Step-by-Step Setup Methods
When setting up an eSIM, scanning a QR code vs. manual entry boils down to speed versus control. For scanning, open your device’s cellular settings, tap “Add eSIM,” and point your camera at the QR code your carrier provided—it auto-fills the activation code and downloads the profile in seconds. Manual entry requires you to tap “Enter Details Manually,” then type the activation code, SM-DP+ address, and sometimes a confirmation code, which is slower but handy if the QR is damaged or emailed as text. Double-check every character because a typo will fail the download. Both methods finish with following on-screen prompts to label the line and set defaults.
- Scanning is best when you have the physical QR code or a clear digital copy on another screen.
- Manual entry works when you only have the SM-DP+ address and activation code text.
- After either https://baztel.co/ method, restart your device to ensure the mobile profile activates correctly.
What to Do If Your Phone Won’t Recognize the New Profile
If your phone fails to recognize the newly installed eSIM profile, first verify that the profile’s activation code wasn’t mistyped during the manual entry process—a single incorrect digit prevents detection. Next, toggle airplane mode on and off, forcing the device to re-scan for the carrier’s network and the eSIM profile activation status. Then, check whether the profile is listed under Settings → Cellular/Mobile Data; if it appears but is grayed out, remove and re-add it using the QR code or activation link. Finally, restart the handset, as a transient software glitch often blocks recognition until a full reboot clears the cache.
- Confirm the eSIM profile isn’t already installed under a different label, which causes a duplicate conflict.
- Reset network settings (not the entire phone) to refresh the modem’s profile registry.
- Contact your carrier to verify the profile hasn’t expired or been revoked remotely before troubleshooting further.

What Are the Real-World Benefits of Switching to This Digital Technology?
Switching to an eSIM card gives you instant connectivity without waiting for a physical SIM to arrive or fumbling with tiny trays. You can scan a QR code to activate a local data plan the moment you land, avoiding roaming charges entirely. For travelers, managing multiple profiles means you keep your home number active for calls while using a local data package for navigation and messaging—no swapping cards mid-trip. eSIMs also make it effortless to switch carriers if your current signal is weak; you can compare offers in an app and change providers in under a minute. Your phone stays dust-proof and water-resistant because you never open the SIM slot, and if your device is lost or stolen, you can remotely remove the profile to protect your line. It’s simply a more flexible, hassle-free way to stay connected.

Traveling Abroad: Swapping Local Data Plans Without Visiting a Store
When you land overseas, swapping local data plans without visiting a store becomes your first win with an eSIM. Instead of hunting down a kiosk or wrestling with a physical SIM tray, you scan a QR code from a provider’s app or website—often while still in the departure lounge—and activate a regional package in minutes. The process is straightforward: first, check your phone’s eSIM compatibility and ensure it’s unlocked; second, purchase a plan for your destination country or region; third, install the profile and toggle it on in your settings. You keep your home number active for calls or SMS, then switch data instantly as you cross borders, avoiding roaming fees without any shop visits.
Managing Multiple Numbers on One Handset for Work and Personal Life
Managing multiple numbers on one handset via eSIM eliminates the need for a second physical device, letting you assign separate profiles for work and personal calls. You can seamlessly switch between professional and private lines without swapping SIM cards, and both numbers remain active simultaneously for incoming calls. Choose which line uses cellular data for navigation or streaming, and set distinct voicemail greetings or call-forwarding rules per profile. Work contacts see your business number, while family reaches your personal line, all on the same phone. This practical setup simplifies expense reporting by keeping billing separate, and you can pause a work profile during vacations or weekends, ensuring a clear boundary without altering your primary device.
How to Choose the Right Data Plan for Your Needs
To choose the right eSIM data plan, first audit your actual usage—streaming daily demands 10GB+, while navigation and messaging may only need 2GB. Check coverage maps for your destinations, as a plan’s local network partner beats raw gigabyte counts. For travel, prioritize plans with flexible validity windows, like 30-day rolling access, rather than fixed calendar months. Match the plan’s speed tier to your critical tasks—video calls need 10Mbps+, but emails work fine on slower throttled speeds. Buy a short-term plan first to test signal reliability in your primary locations, then upgrade based on observed performance. Avoid plans with automatic renewal unless you’re certain of repeat usage—one-time top-ups give better control over spending. *A 5GB plan from a premium network often outperforms a 15GB budget option in congested urban zones.* Finally, check if the eSIM supports hot-spot sharing; many supposedly “unlimited” plans restrict tethering, which can silently ruin your workflow.
Comparing Short-Term Tourist Packages vs. Long-Term Subscription Options
When choosing an eSIM, weigh **tourist data packages against long-term subscription plans** based on trip duration and renewal habits. Short-term tourist eSIMs bundle fixed data (e.g., 10 GB for 15 days) and expire automatically, perfect for single trips with predictable usage. Long-term subscriptions offer monthly rolling data, better per-GB pricing, and flexible top-ups, ideal for frequent travelers or expats. Tourist packages rarely auto-renew, preventing overspend, while subscriptions require active cancellation. For a 2-week vacation, a tourist eSIM is simpler; for 3+ months of intermittent travel, a subscription avoids repeated activation fees.
Q: When should a long-term eSIM subscription outperform a tourist package? A: If you travel multiple times yearly or stay over 30 days, a subscription beats tourist packs by eliminating re-purchase steps and lowering cost per gigabyte across sustained usage.
Data Speed, Coverage, and Price: What to Prioritize When Buying a Plan
When weighing data speed, coverage, and price for an eSIM, prioritize coverage first—a cheap plan with dead zones is worthless. Check the provider’s network map for your exact destinations, not just countries. Next, match speed to your habits: video calls and streaming need 5G or reliable 4G LTE, while navigation or messaging tolerates slower 3G. Price should only decide between plans with comparable coverage and speed tiers; avoid paying for unlimited high-speed data if you only travel for a weekend. Conversely, don’t sacrifice a stable connection to save a few dollars—roaming on a weak network drains battery and patience. Lock in a plan that guarantees solid coverage and adequate speed, then optimize cost within that constraint.
How to Manage, Switch, and Delete Your Digital Profiles Safely
To manage your eSIM profiles safely, always open your phone’s settings, then Cellular or Mobile Data, where each profile is listed with its own label. Before switching, confirm which line you’re using for calls and data to avoid surprise charges—tap “Default Line” and choose the right profile. To switch, simply toggle the active line on and the other off; this doesn’t delete anything, so you can bounce back anytime. When deleting a profile you no longer need, select “Remove Cellular Plan” and, crucially, scan the QR code or re-enter the activation details from your carrier’s email first—this prevents permanent lockout. Also, clear any associated remote management apps so a digital profile switch or deletion doesn’t leave trace data behind, keeping your device clean and your privacy intact.
Switching Between Carriers Instantly Without Restarting Your Phone
With an eSIM, switching between carriers instantly without restarting your phone becomes a seamless tap-and-go action. You simply open your device’s cellular settings, where all downloaded profiles are stored side-by-side. Select the secondary line you want active, and your phone re-registers to that network within seconds—no SIM tray, no power cycle, no waiting for a reboot. Need to test coverage or use a local data plan while traveling? Toggle between your home profile and a travel eSIM on the fly. The process is purely software-driven, so your current calls, messages, and apps remain untouched. Just ensure both profiles are properly installed and labeled, then follow this quick sequence:
- Go to Settings → Cellular or Mobile Data.
- Choose the eSIM profile you wish to activate.
- Tap “Turn On This Line” or switch the default data line.
- Watch the signal bar update instantly—no restart required.
Deleting an Unused Profile: What Happens to Your Data and Number
When you delete an unused eSIM profile, the action is irreversible, and the digital profile is permanently wiped from your device. Your phone number—tied to that profile—is immediately released from your device’s secure element, but it does not automatically cancel your carrier account. Data such as call logs, SMS threads, and saved network settings stored solely on that profile are erased within seconds; any cloud backups remain with your carrier, not on your device. If you later re-download the same eSIM, you’ll get a fresh profile with no previous local history. For prepaid plans, deleting the profile typically forfeits your remaining balance, so confirm there’s no active credit before removal.
What Should You Do When Your Device Gets Lost, Stolen, or Reset?
When your device with an eSIM is lost or stolen, immediately contact your carrier to suspend or transfer the eSIM profile to a new device, as the embedded chip cannot be removed remotely. For a reset, back up your eSIM’s QR code or activation details beforehand, since a factory reset deletes the profile and requires re-downloading. If the device is unrecoverable, request a new eSIM QR code from your carrier and install it on a replacement phone. Q: Can I reuse the same eSIM after a reset? A: No, you must reinstall the profile using your carrier’s app, QR code, or manual activation, ensuring you have the original credentials saved. Always keep a printed or digital copy of your eSIM details in a secure location separate from the device to speed recovery.
Protecting Your Virtual Number: Remote Wipe and Carrier Lock Options
When your device with an eSIM is lost or stolen, your virtual number remains tied to the embedded profile unless you act fast. First, log into your carrier’s app or web portal to trigger a **remote wipe of the eSIM profile**, which instantly deletes the activation code and disables the virtual number on the hardware. This prevents call forwarding or SMS interception. Simultaneously, request a carrier lock, which freezes the eUICC so the profile cannot be transferred to another phone. Some carriers offer a “suspend and lock” toggle that blocks network authentication while preserving your number for recovery. If you later retrieve the device, re-download the eSIM via QR code or push notification. For a secondary device, use your account dashboard to transfer the profile before wiping the original.
Backing Up Your Profiles and Restoring Them on a New Phone
When your device is lost or reset, your eSIM profiles are not tied to the physical SIM slot, so restoring them on a new phone depends entirely on your pre-reset preparation. First, locate your carrier’s QR code or activation code—this is your master key—and store it in a secure cloud vault or password manager. Next, ensure your primary device’s eSIM is linked to your carrier account via app or web login; many carriers allow a quick re-download of the profile. On your new phone, navigate to Settings > Cellular > Add eSIM, then scan the QR code or enter the activation details manually. If you had multiple profiles, repeat the process for each line. Finally, verify that your phone number and data plan are active by making a test call. Without this backup, you’ll face carrier verification delays, so proactive profile backup is non-negotiable for seamless recovery.